Introduction
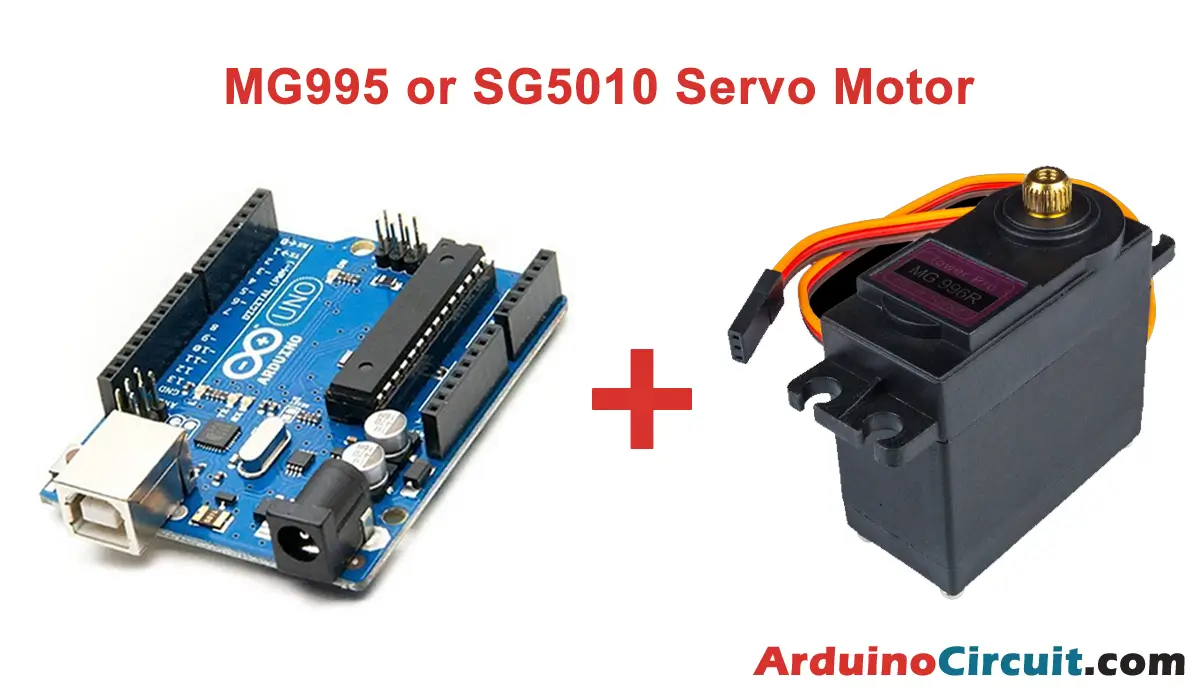
In this tutorial, we will see how to connect an MG995 or SG5010 position servo motor with a 180-degree range to an Arduino board, you will also find a programming code for your first tests. Servomotors are electromechanical devices that have the ability to control the angular position of their axis, their procedure consists of receiving the information of the desired angle through the pulse width of a PWM signal to bring the axis to said position, they usually consist of a direct current motor, a reduction gear train, and a control card, all contained in a plastic box.
This example is intended for MG995 and SG5010 servos but it may work for many more models and to implement the control signal we will use the <Servo.h> library. It is worth mentioning that this servomotor can NOT be powered directly from the 5V Pin on our Arduino Uno board since it demands too much current, we always recommend using an external source.
Hardware Required
You will require the following Hardware Components for interfacing the MG995 or SG5010 servo motor with Arduino.
| Components | # | Buy From Amazon |
|---|---|---|
| Arduino UNO | 1 | Buy Now |
| MG995 Servo Motor | 1 | Buy Now |
| SG5010 Servo Motor | 1 | Buy Now |
| Potentiometer 10KΩ | 1 | Buy Now |
| Jumper Wires | – | Buy Now |
| Breadboard | 1 | Buy Now |

What is MG995 Servo Motor?
MG995 is a high-torque servo motor capable of providing up to 12kg-cm torque at 6V. It operates in the range of 4.8V to 7.2V and has a maximum rotational speed of 60 degrees per second. The motor is compatible with Arduino and other microcontrollers and has a 3-pin female header for easy connections. MG995 is widely used in RC planes, cars, boats, and other applications that require high torque and precision.
What is SG5010 Servo Motor?
SG5010 is another popular servo motor that provides up to 10kg-cm torque at 4.8V. It operates in the range of 4.8V to 6V and has a maximum rotational speed of 60 degrees per second. The motor is compatible with Arduino and other microcontrollers and has a 3-pin female header for easy connections. SG5010 is commonly used in robotics, automation, and other applications that require precise and controlled movements.
Specifications
- MG995 provides up to 12kg-cm torque at 6V, while SG5010 provides up to 10kg-cm torque at 4.8V.
- The operating range for MG995 is 4.8V to 7.2V, while for SG5010, it is 4.8V to 6V.
- Both motors have a maximum rotational speed of 60 degrees per second.
- MG995 has a deadband of 5us, while SG5010 has a deadband of 4us.
Features
- Both motors are compatible with Arduino and other microcontrollers.
- Both motors have a 3-pin female header for easy connections.
- MG995 has a higher torque rating than SG5010.
- SG5010 has a slightly smaller deadband than MG995.
Pinout

Pin Configuration
| Pin Name | Pin Description |
|---|---|
| Signal | Signal or PWM pin |
| VCC | VCC, +5V Pin |
| GND | Ground Pin |
Circuit Diagram
The following circuit shows you the connection of the MG995 or SG5010 servo motor with Arduino Please make the connection carefully

Circuit Connections
| Arduino | Pot | Servo |
|---|---|---|
| +5V | VCC | VCC |
| GND | GND | GND |
| A0 | middle | |
| Pin 9 | Signal |
Installing Arduino IDE Software
First, you will require to Download the updated version of Arduino IDE Software and Install it on your PC or laptop. if you Learn How to install the Arduino step-by-step guide then click on how to install Arduino Button given Blow
Installing Libraries
Now when you are Ready to upload the code, to the Arduino Board you will need first to add the Following Libraries in Arduino, If you Learn How to add the library in the Arduino step-by-step guide click on how to install the library Button given Blow
Code
We load the code and see how we can control the angular position of the motor shaft with the potentiometer.
//For more Projects: www.arduinocircuit.com
#include <Servo.h>

Servo myservo;  // Creamos un objeto de clase "Servo" llamado "myservo" para controlar nuestro servomotor

int potpin = 0;  // Pin analógico al cual conectamos la señal de nuestro potenciómetro
int val;    // variable que contendrá el valor leido en el pin del potenciómetro y posteriormente el valor que escribiremos al servomotor

void setup() {
  myservo.attach(9);  // Adjuntamos el objetoque creamos al pin 9, recuerda que solo puedes utilizar pines PWM
}

void loop() {
  val = analogRead(potpin);            // leemos el valor del potenciómetro (valor entre 0 y 1023)
  val = map(val, 0, 1023, 0, 180);     // escalamos el valor para usarlo con el servo (valor entre 0 y 180)
  myservo.write(val);                  // establecemos la posición deseada del servo
  delay(15);                           // esperamos a que el servo llegue a dicha posición
}
Applications
- MG995 is commonly used in RC planes, cars, boats, and other applications that require high torque and precision.
- SG5010 is commonly used in robotics, automation, and other applications that require precise and controlled movements.
- Both motors can be used in projects that require servo motors with similar specifications.
Conclusion
MG995 and SG5010 are both excellent servo motors with similar features and specifications. The main difference between the two is the torque rating, with MG995 providing higher torque than SG5010. Both motors can be used in a variety of applications, and the choice between the two depends on the specific requirements of the project.