Introduction
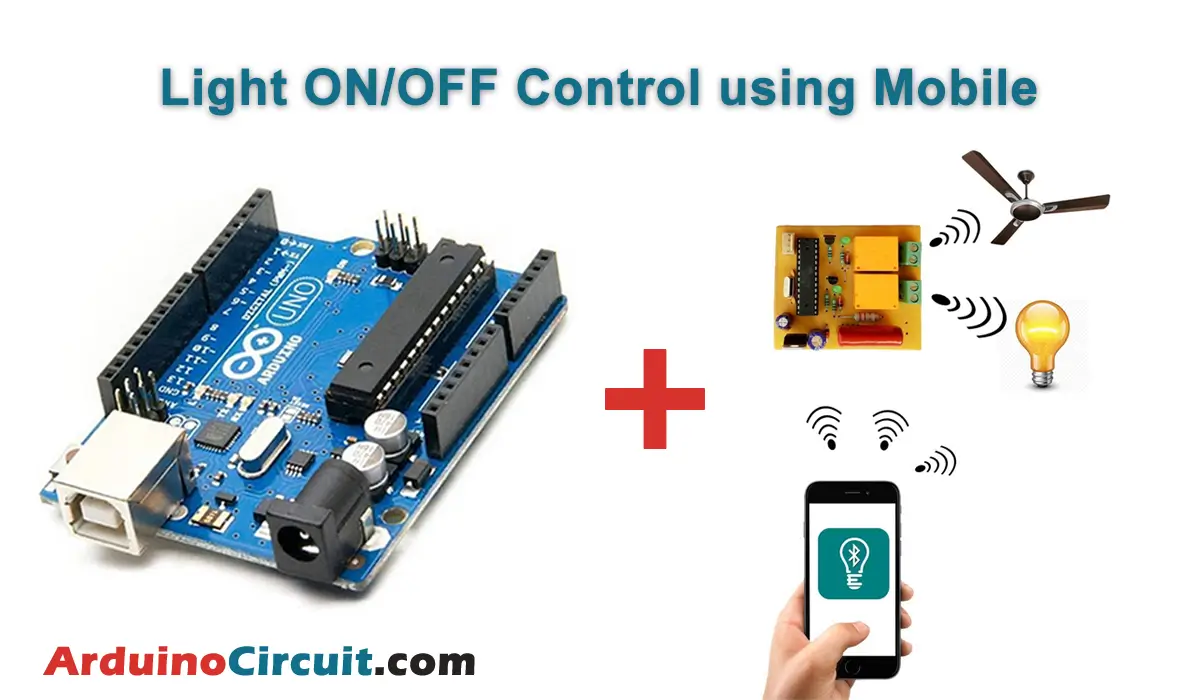
In this Project we are going to make Light ON/OFF Control using Mobile App and Bluetooth, In this digital age, home automation has become increasingly popular, offering convenience and control at our fingertips. With the Arduino Uno, a relay module, and a Bluetooth module, you can create a system that allows you to remotely control the ON/OFF function of a light or lamp using a mobile app. In this tutorial, we will guide you through the process of setting up the hardware, coding the Arduino, and developing a mobile app for controlling the light using Bluetooth communication.
Hardware Required
To create a Light ON/OFF Control using Mobile App and Bluetooth, you will need the following components
| Components | # | Buy From Amazon |
|---|---|---|
| Arduino UNO | 1 | Buy Now |
| Bluetooth module HC-06 | 1 | Buy Now |
| Relay Module (5v Vcc) | 1 | Buy Now |
| A light bulb or Lamp | 1 | Buy Now |
| 9v DC Adapter (Optional) | 1 | Buy Now |
| Jumper Wires | Few | Buy Now |
| Breadboard | 1 | Buy Now |
Circuit Setup
- Connect the VCC pin of the Bluetooth module to the 5V pin on the Arduino Uno.
- Connect the GND pin of the Bluetooth module to the GND pin on the Arduino Uno.
- Connect the RXD pin of the Bluetooth module to the TX pin (Pin 1) on the Arduino Uno.
- Connect the TXD pin of the Bluetooth module to the RX pin (Pin 0) on the Arduino Uno.
- Connect the VCC pin of the relay module to the 5V pin on the Arduino Uno.
- Connect the GND pin of the relay module to the GND pin on the Arduino Uno.
- Connect the IN1 or SIG pin of the relay module to a digital output pin on the Arduino Uno (e.g., Pin 2).
- Connect the other end of the relay module to the power supply and the light bulb or lamp.
Circuit Diagram
The following circuit shows you the connection of the Light ON/OFF Control using Mobile App and Bluetooth Please make the connection carefully

Installing Arduino IDE Software
First, you will require to Download the updated version of Arduino IDE Software and Install it on your PC or laptop. if you Learn How to install the Arduino step-by-step guide then click on how to install Arduino Button given Blow
Coding the Arduino
- Install the required libraries: Install the SoftwareSerial and the Relay libraries in your Arduino IDE.
- Define the necessary constants and variables: Declare the pin numbers for the relay module and Bluetooth module, and create a variable to store the received Bluetooth data.
- Initialize the serial communication: Use the Serial.begin() function to initialize the serial communication with a baud rate of 9600.
- Set up the relay module: Configure the pin connected to the relay module as an output using the pinMode() function.
- Create the main loop: In the loop() function, check if there is incoming data available from the Bluetooth module using the Serial.available() function.
- Control the relay module: Based on the received data, use conditional statements to control the relay module. For example, if the received data is “1,” turn on the light by setting the relay pin HIGH. If the received data is “0,” turn off the light by setting the relay pin LOW.
Code
//For more Projects: www.arduinocircuit.com

const int relayPin = 3; // Relay signal pin to arduino digital pin 3

int state;             // State will store income data from serial port
int flag;              // Flag variable will help us to control on/off function with only one command ;)


void setup()
{
	pinMode(relayPin, OUTPUT);	// Set relay pin (3) as output
    Serial.begin(9600);         // Initialize serial communication at 9600 bits per second
}

void loop()
{
    if(Serial.available() > 0){
      state = Serial.read();    // Save income data to variable 'state'
    }


    //If state is equal with letter 'W', turn leds on or of off
    if (state == 'W') {
      if (flag==0){
         digitalWrite(relayPin, HIGH);
         flag=1;
      }
      else if (flag==1){
         digitalWrite(relayPin, LOW);
         flag=0;
      }
      state='n';
    }
    delay(200); // Small delay..
}
Developing the Mobile App:
- Choose a platform and development tool: Select a platform (Android or iOS) and a development tool such as Android Studio or Xcode.
- Design the user interface: Create a simple user interface with a button for turning the light ON and another button for turning it OFF.
- Implement Bluetooth communication: Add the necessary code to establish a Bluetooth connection with the HC-06 module and send data (e.g., “1” for ON and “0” for OFF) when the corresponding button is pressed.
- Test the mobile app: Install the app on your mobile device and pair it with the Bluetooth module. Test the functionality by pressing the ON/OFF buttons and observing the light bulb or lamp.
Applications
- Home automation: This project allows you to integrate lighting control into your home automation system. You can conveniently turn lights on or off from anywhere within the Bluetooth range using your mobile device.
- Energy efficiency: By using a mobile app to control the lighting, you can easily manage energy consumption by turning off lights when they are not needed. This promotes energy efficiency and reduces electricity bills.
- Accessibility: The mobile app control feature makes it convenient for individuals with mobility limitations to control the lights without the need to physically reach the switches.
- Security: You can use the system to create an illusion of occupancy while you are away from home by remotely turning lights on and off at different intervals, enhancing the security of your property.
- Office or commercial space automation: This project can be implemented in offices or commercial spaces to control lighting in different areas. It offers the flexibility to manage lighting based on occupancy or specific requirements.
- Classroom or workshop control: Teachers or instructors can use the system to control the lighting in classrooms or workshops without the need to manually operate switches, creating a more efficient learning or working environment.
- Customization and integration: The project can be customized and integrated with other home automation systems or devices, allowing for seamless control and synchronization with other smart devices.
Conclusion
By combining the power of Arduino, a relay module, a Bluetooth module, and a mobile app, you can create a system that enables you to control the ON/OFF function of a light or lamp wirelessly. This project serves as a foundation for expanding your home automation endeavors and exploring the potential of Bluetooth communication in controlling various devices with a mobile app. With a little creativity and programming skills, you can enhance your living space and experience the convenience of smart home technology.
Also, watch this Project