Introduction
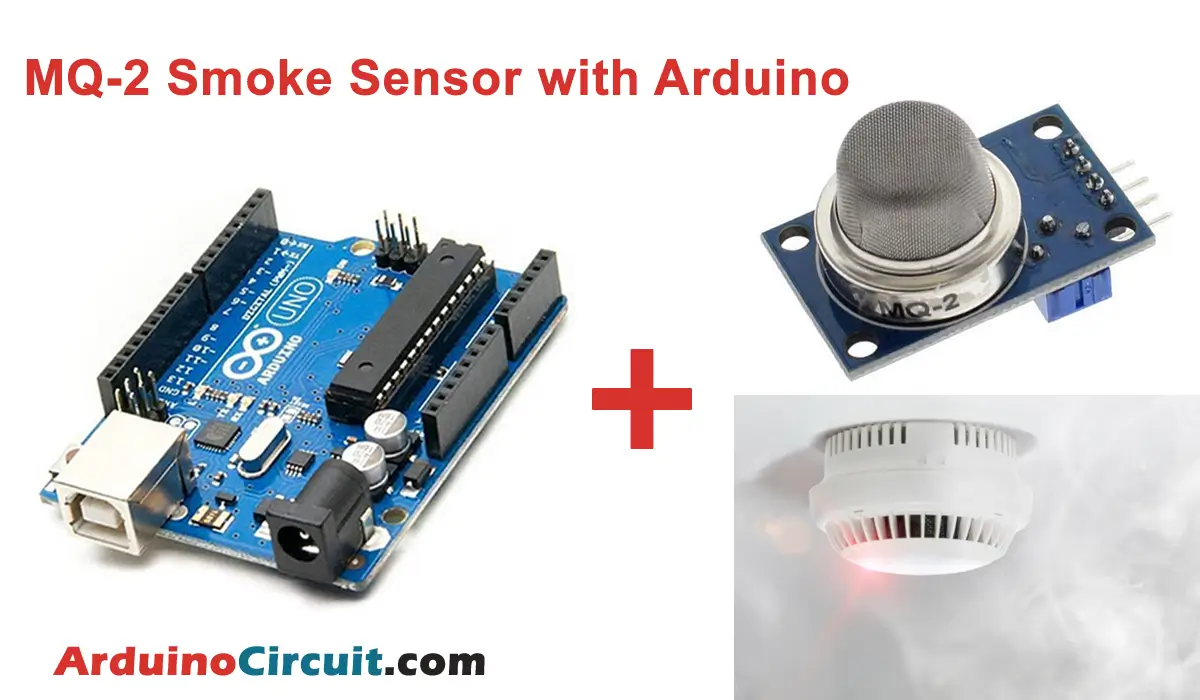
In this tutorial, we will learn how to Interfacing MQ-2 Smoke Gas Sensor with Arduino, MQ-2 smoke sensor is a gas sensor that can detect a variety of gases such as smoke, methane, propane, butane, and liquefied petroleum gas (LPG). It is widely used in smoke alarms, gas leakage detectors, and other applications to monitor air quality.
MQ-2 smoke sensor is an affordable and effective solution to detect smoke and a variety of flammable gases. It is widely used in various applications due to its high sensitivity, low cost, and long lifespan. By using an Arduino, we can easily process the output of the sensor and create a smoke alarm or gas leakage detector system.
Hardware Required
You will require the following Hardware Components for Interfacing MQ-2 Smoke Gas Sensor with Arduino.
| Components | # | Buy From Amazon |
|---|---|---|
| Arduino UNO | 1 | Buy Now |
| MQ-2 Sensor Module | 1 | Buy Now |
| LED 5mm | 1 | Buy Now |
| Resistors 220Ω | 1 | Buy Now |
| Jumper Wires | – | Buy Now |
| Breadboard | 1 | Buy Now |
What is MQ-2 Smoke Sensor?
The MQ2 gas sensor is a module that can detect various types of gases, such as smoke, propane, methane, butane, alcohol, and carbon monoxide. It is based on the principle of sensing different gases through their interaction with the sensor’s surface. The MQ2 gas sensor consists of a small heating element and a sensing element made of a metal oxide semiconductor material. When the sensing element is exposed to a gas, its resistance changes and this change is proportional to the concentration of the gas in the surrounding environment. The sensor can be connected to a microcontroller, such as an Arduino board, to measure and monitor the concentration of gases in the environment. It is commonly used in gas leakage detection, fire detection, and air quality monitoring applications.
Specifications
- Operating Voltage: 5V DC
- Operating Current: < 150 mA
- Detection Range: 300 – 10000 ppm
- Heater Resistance: 31Ω ± 3Ω
- Sensing Resistance: 1KΩ – 20KΩ in 1000 ppm propane
- Sensitivity: R in air/R in gas ≥ 5
| Operating voltage | 5V |
| Load resistance | 20 KΩ |
| Heater resistance | 33Ω ± 5% |
| Heating consumption | <800mw |
| Sensing Resistance | 10 KΩ – 60 KΩ |
| Concentration Range | 200 – 10000ppm |
| Preheat Time | Over 24 hour |
Features
- High sensitivity to smoke and a variety of flammable gases
- Low cost and easy to use
- Analog and digital outputs
- Adjustable sensitivity through a potentiometer
- Stable and long lifespan
Pinout

Pin Configuration
| Pin Name | Pin Type |
|---|---|
| VCC | Positive supply Pin |
| GND | Ground Pin |
| A0 | Analog Pin |
| D0 | Digital Pin |
Working Explanation
The MQ-2 smoke sensor works on the principle of gas sensing. It has a small heater coil that heats the sensing element, which is made up of a metal oxide semiconductor material. When the target gas comes in contact with the sensing element, the resistance of the element changes, and this change in resistance is measured by the circuit. The output of the sensor is an analog signal that can be processed by an Arduino to detect the presence of smoke or other gases.
Circuit Diagram
The following circuit shows you the connection of the MQ-2 Smoke Sensor with Arduino Please make the connection carefully

Circuit Connections
Connect the MQ-2 smoke sensor to the Arduino by connecting the following pins:
VCC to 5V on the Arduino
GND to GND on the Arduino
A0 to an analog input pin on the Arduino (e.g. A0)
And the D0 does not connect with Arduino
| Arduino | MQ-2 Module |
|---|---|
| +5V | VCC |
| GND | GND |
| A0 | A0 |
Installing Arduino IDE Software
First, you will require to Download the updated version of Arduino IDE Software and Install it on your PC or laptop. if you Learn How to install the Arduino step-by-step guide then click on how to install Arduino Button given Blow
Code
The Giver Below sketch determines whether the gas concentration is within proper limits.
//For more Projects: www.arduinocircuit.com

#define ledPin 6

#define sensorPin A0

void setup() {

  Serial.begin(9600);

  pinMode(ledPin, OUTPUT);

  digitalWrite(ledPin, LOW);

}
void loop() {

  Serial.print("Analog output: ");

  Serial.println(readSensor());

  delay(500);

}
//  This function returns the analog data to calling function

int readSensor() {

  unsigned int sensorValue = analogRead(sensorPin);  // Read the analog value from sensor

  unsigned int outputValue = map(sensorValue, 0, 1023, 0, 255); // map the 10-bit data to 8-bit data

  if (outputValue > 65)

    analogWrite(ledPin, outputValue); // generate PWM signal

  else

    digitalWrite(ledPin, LOW);

  return outputValue;             // Return analog moisture value

}
Applications
- Smoke alarms and detectors
- Gas leakage detectors
- Air quality monitoring
- Industrial safety systems
- Environmental monitoring
See Also


