Introduction
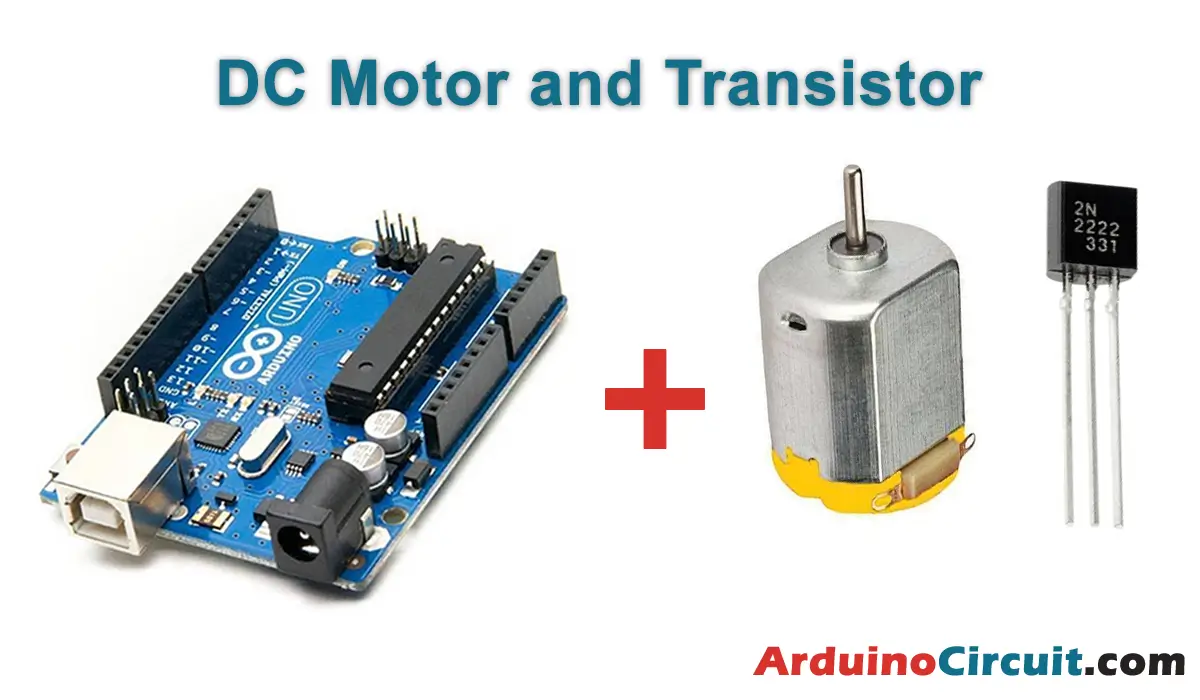
In this tutorial, we are going to learn How to control a dc motor with transistor using Arduino, Hello there, my young aspiring engineer! Today, we’re going to learn how to control a magical device called a DC motor using a transistor and an amazing gadget called Arduino. Are you ready to dive into the world of electronics? Let’s get started!
What You’ll Need
To embark on this exciting adventure, you’ll need a few special tools and components. Here’s what you’ll need for How to control a dc motor with transistor using Arduino turorial
| Components | # | Buy From Amazon |
|---|---|---|
| Arduino Uno | 1 | Buy Now |
| DC Motor | 1 | Buy Now |
| Transistor P2N2222A | 1 | Buy Now |
| Diode 1N4148 | 1 | Buy Now |
| Resistor 220 Ohm | 1 | Buy Now |
| Jumper Wires | Few | Buy Now |
| Breadboard | 1 | Buy Now |
Understanding DC Motors
Before we begin, let’s understand what a DC motor is. Imagine a little machine with tiny wheels that can spin really fast. When we connect it to a power source, like a battery, it comes to life and starts spinning. We can control how fast it spins and in which direction using our transistor and Arduino.
Let’s Meet Arduino
Arduino is a magical device that helps us control other electronic components. It’s like a mini computer that can follow our instructions and make things happen. We can tell Arduino to turn the motor on or off, make it spin faster or slower, and even change its direction. Isn’t that incredible?
The Transistor: A Tiny Switch
Now, let’s talk about the transistor. Imagine it as a little switch that can turn the motor on and off. When we tell Arduino to send a signal to the transistor, it opens up like magic, allowing electricity to flow through and making the motor spin. When we turn the switch off, the motor stops spinning. So, the transistor helps us control the motor’s superpowers!
Wiring the Circuit
Okay, it’s time to build our circuit. First, let’s place the Arduino on the breadboard, making sure its legs connect with the right holes. Then, we’ll connect one leg of the transistor to a specific pin on the Arduino and the other leg to the ground. This will allow the transistor to communicate with Arduino and control the flow of electricity to the motor.
Adding a Resistor
Now, let’s add the resistor to the circuit. It acts as a superhero shield, protecting our transistor and Arduino from too much electric current. We’ll connect one end of the resistor to the transistor’s leg and the other end to the 5V pin on the Arduino. Safety first, right?
Introducing the Diode
Next up is the diode, another amazing component. It acts as a traffic controller, making sure the electric current flows in one direction only. We’ll connect one end of the diode to the motor and the other end to the ground. This way, the diode keeps the current flowing smoothly and prevents any traffic jams!
Writing the Arduino Code
It’s time to tell Arduino what to do. We’ll write a special code that tells it how to control the motor. Don’t worry, it’s simpler than learning your ABCs! We’ll tell Arduino to send a signal to the transistor, turning it on or off. This signal will make the motor spin or stop.
Connecting the Components
Now, let’s connect all the components together. We’ll connect the motor to the transistor, the transistor to Arduino, and Arduino to our computer using a USB cable. This way, Arduino will receive our instructions and work its magic!
Circuit diagram

Code
const int motorPin = 3;

int Speed; //Variable to store Speed, by defaul 0 PWM
int flag;

void setup()
{
	pinMode(motorPin, OUTPUT); //Set pin 3 as an OUTPUT
	Serial.begin(9600); //Init serial communication
    //Print a message:
	Serial.println("Give a number from 50 to 255."); //Why minimun value 50? Because with values below 50 the motor doesn't spin ;)
	Serial.println(""); //Blank line
}

void loop()
{
	//Check if incoming data is available:
    if (Serial.available() > 0)
    {
      // If it is, we'll use parseInt() to pull out only numbers:
      Speed = Serial.parseInt();
      flag=0;
    }

	//Valid range is from 50 to 255
	if (Speed>=50 && Speed<=255){
		//Send PWM value with analogWrite to Arduino pin 3 and print a message to serial monitor
		analogWrite(motorPin, Speed);
	    //Print message only once
	    if (flag==0){
	    	//Print PWM value
	    	Serial.print("Motor spinning with ");
	    	Serial.print(Speed);
	    	Serial.println(" PWM");
	    	flag=1;
	    }
	}
	delay(1000);
}
//
Testing Time!
Are you excited? It’s time to see our creation come to life! Let’s upload the code to Arduino, and voila! The motor should start spinning. You did it! Give yourself a pat on the back, my little engineer. You’ve mastered the art of controlling a DC motor with Arduino and a transistor.
Troubleshooting Tips
If your motor doesn’t spin, don’t worry. Sometimes, even the greatest inventors face challenges. Here are some tips to troubleshoot the circuit:
- Double-check your connections. Make sure everything is connected in the right place.
- Check your code for any errors. A tiny mistake can cause big trouble.
- Make sure your components are not damaged. Sometimes, components can get tired too!
Safety First!
Remember, safety always comes first! When working with electronics, be sure to ask an adult for help and guidance. Don’t forget to turn off the power when connecting or disconnecting components. We want everyone to have fun and stay safe!
Conclusion
Congratulations, my little electrical genius! You’ve learned how to control a DC motor using a transistor and Arduino. Isn’t it amazing what you can create with a few simple components and a bit of coding? Now, you can explore and build even more incredible projects. The sky’s the limit!
Frequently Asked Questions
Q1: Can I control the speed of the motor using Arduino?
Absolutely! By changing the instructions in the Arduino code, you can make the motor spin faster or slower. It’s like having a remote control for the motor!
Q2: What if I want the motor to spin in the opposite direction?
No problem! By modifying the code and changing the signals sent to the transistor, you can make the motor spin in any direction you want. You’re in control!
Q3: Can I use a different type of transistor for this project?
Definitely! The P2N2222A transistor we used is commonly available, but you can use other transistors as long as they have similar specifications. Just make sure to check their datasheets for the correct connections.
Q4: Is it possible to control multiple motors with Arduino?
Absolutely! You can control multiple motors by using additional transistors and modifying the circuit accordingly. The more motors, the more fun!
Q5: Can I build a robot using this knowledge?
Absolutely! With the power of Arduino and DC motors, you can create your very own robot. Imagine having a robot friend who can move, dance, and even follow your commands. How cool is that?