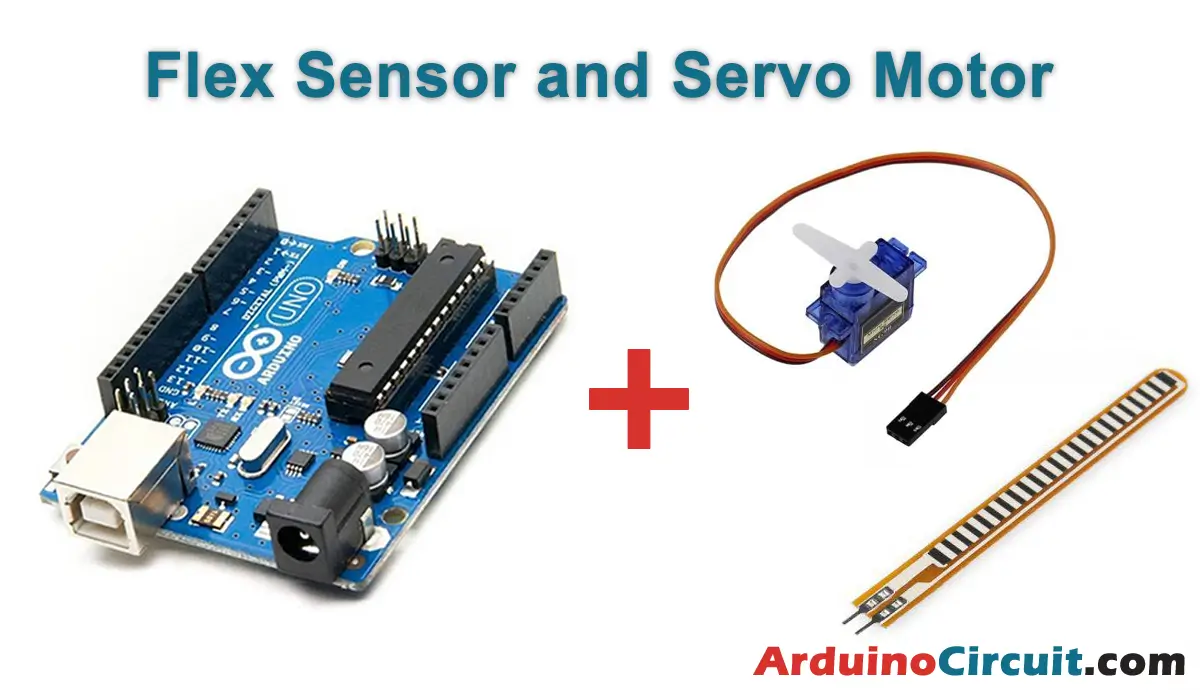
Introduction
In this tutorial, we will explore how to use a flex sensor and a servo motor with an Arduino Uno. A flex sensor is a bendable resistor that changes its resistance based on the degree of bending. By connecting a flex sensor to an Arduino and using it as an input, we can control the position of a servo motor. This opens up possibilities for projects that require precise control over the movement of mechanical components.
Hardware Required
| Components | # | Buy From Amazon |
|---|---|---|
| Arduino UNO | 1 | Buy Now |
| Flex Sensor | 1 | Buy Now |
| Servo motor | 1 | Buy Now |
| Resistors 22KΩ | 1 | Buy Now |
| Jumper Wires | Few | Buy Now |
| Breadboard | 1 | Buy Now |
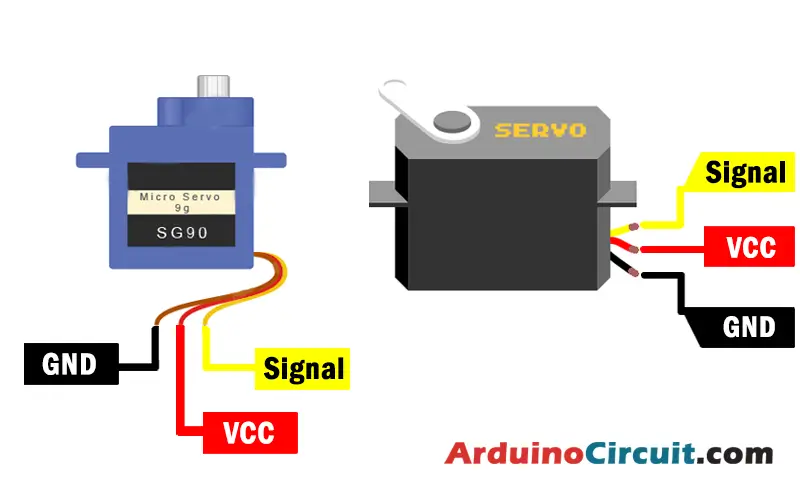
Servo Motor Pinout
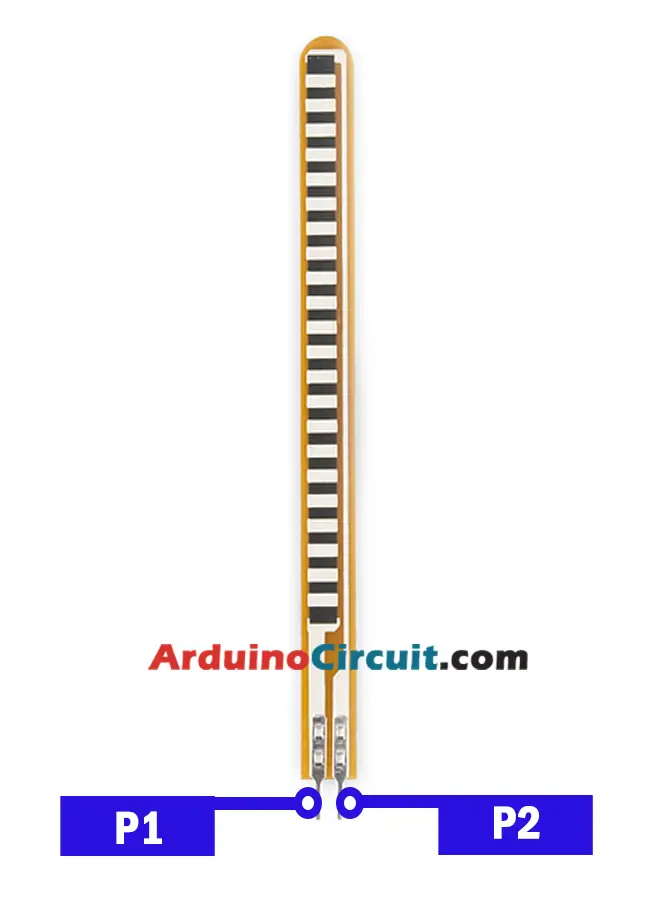
Flex Sensor Pinout
Circuit Construction
To build the circuit, you will need an Arduino Uno, a flex sensor, a servo motor, resistors (22KΩ), jumper wires, and a breadboard for prototyping. Connect the components according to the schematic diagram, ensuring the proper wiring between the Arduino, flex sensor, and servo motor. Make sure the connections are secure and the components are properly powered.
Circuit Diagram

Working Explanations
The flex sensor works as a variable resistor that changes its resistance as it bends. The Arduino reads the resistance value of the flex sensor using analog input pins and maps this value to a specific servo motor angle range. Based on the mapped value, the Arduino sends corresponding signals to the servo motor, which adjusts its position accordingly. By bending the flex sensor, we can control the servo motor and achieve precise rotational movement.
Installing Arduino IDE Software
First, you will require to Download the updated version of Arduino IDE Software and Install it on your PC or laptop. if you Learn How to install the Arduino step-by-step guide then click on how to install Arduino Button given Blow
Installing Libraries
Now when you are Ready to upload the code, to the Arduino Board you will need first to add the Following Libraries in Arduino, If you Learn How to add the library in the Arduino step-by-step guide click on how to install the library Button given Blow
Code
//For more Projects: www.arduinocircuit.com

#include <Servo.h>


Servo myservo;
int pos = 170;
int pos1 = 20;

int flexSensorPin = A0; //analog pin 0

void setup(){
  Serial.begin(9600);
  myservo.attach(9);
}

void loop(){
  int flexSensorReading = analogRead(flexSensorPin);

  // qui potete vedere da monitor seriale i valori e decidere il grado
  // del servo tramite la variabile pos e pos1

  if(flexSensorReading < 80){
  myservo.write(pos); // tell servo to go to position in variable 'pos'
  delay(15);
  }
  if(flexSensorReading > 110){
  myservo.write(pos1); // tell servo to go to position in variable 'pos'
  delay(15);
  }

  Serial.println(flexSensorReading);


  int flex0to100 = map(flexSensorReading, 512, 614, 0, 100);
  Serial.println(flex0to100);

  //delay(250); //just here to slow down the output for easier reading
}
Applications
- Robotic Gripper: Use the flex sensor and servo motor combination to control the opening and closing of a robotic gripper, allowing it to grasp and release objects.
- Prosthetic Limbs: Incorporate the circuit into a prosthetic hand or arm to enable more natural and intuitive control over the movement of the artificial limb.
- Interactive Art Installations: Create interactive art installations where the movement of mechanical components, such as sculptures or kinetic structures, is controlled by the flex sensor and servo motor.
- Animatronics: Build animatronic characters or creatures that mimic real-life movements by using the flex sensor and servo motor to control their joint movements.
- Gesture-based Control: Develop projects that respond to specific hand gestures by mapping the flex sensor readings to predefined servo motor positions, allowing for gesture-based control of various devices or systems.
Conclusion
By combining a flex sensor, a servo motor, and an Arduino Uno, we can create a circuit that provides precise control over the movement of mechanical components. The flex sensor acts as a variable resistor, and its resistance changes as it bends. By reading the flex sensor’s resistance values and mapping them to servo motor angles, we can achieve controlled and precise rotational movement. This opens up opportunities for projects in robotics, prosthetics, interactive art, animatronics, and gesture-based control. Experiment with different bending angles and incorporate this circuit into your projects to add an interactive and intuitive control element.


