Introduction
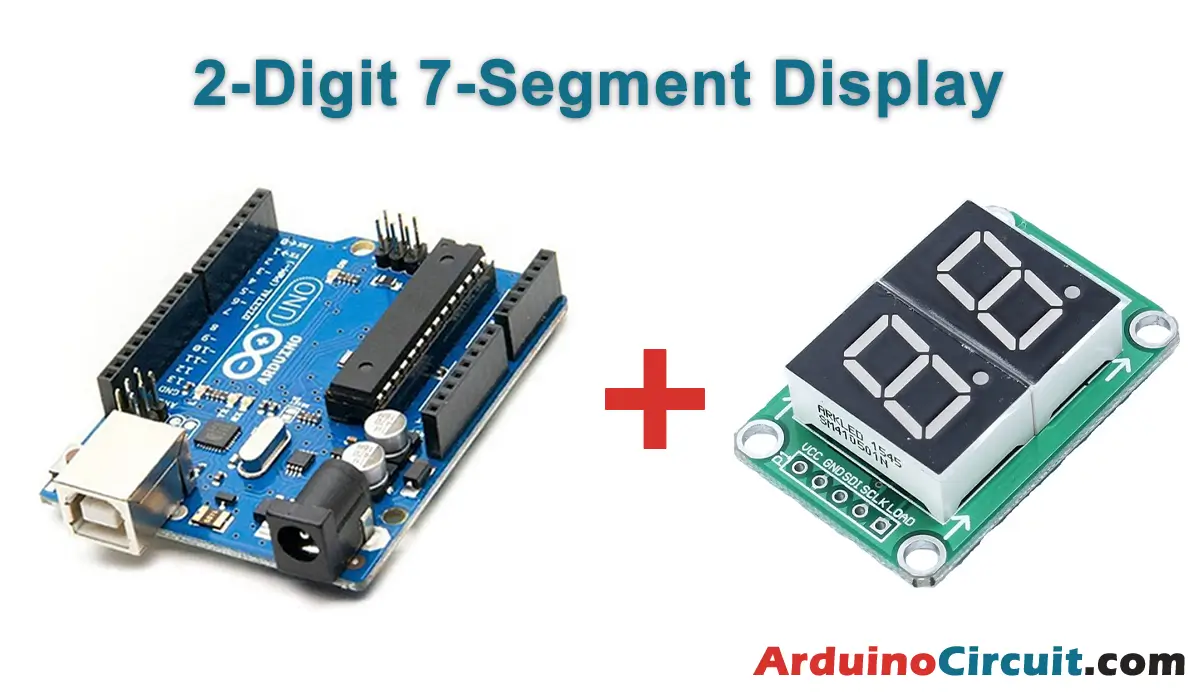
In this Tutorial we are going to 2 digit 7 segment 0-99 counter with arduino code, If you’re looking to add a visual display to your Arduino projects, the 2-digit 7-segment display module is an excellent choice. With its compact size and simplicity, this module allows you to showcase numerical information in a clear and intuitive manner. In this article, we will explore how to interface a 2-digit 7-segment display module with an Arduino Uno. So, gather your components, follow along, and let’s dive into the world of digital displays!
Hardware Required
To get started with 2 digit 7 segment 0-99 counter with arduino code project, you will need the following components
| Components | # | Buy From Amazon |
|---|---|---|
| Arduino Uno | 1 | Buy Now |
| 2-Digit 7-Segment Display Module | 1 | Buy Now |
| Jumper Wires | 5 | Buy Now |
| Breadboard | 1 | Buy Now |
What is 2-Digit 7-Segment Display?
A 2-digit 7-segment display module is a compact electronic display that consists of two 7-segment displays arranged side by side. Each segment is capable of displaying decimal digits from 0 to 9, allowing you to present numerical information up to two digits in length. These displays can be easily interfaced with microcontrollers like the Arduino Uno to showcase data or create visual indicators.
Pinout
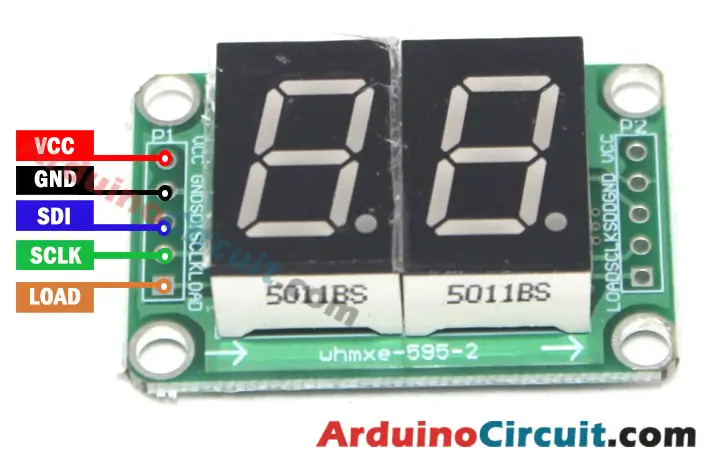
Pin Configuration
| Pin Name | Pin Type |
|---|---|
| VCC | 5v Power Supply |
| GND | Ground Pin |
| SDI | Serial digital interface |
| SCLK | Serial Clock Input Pin |
| LOAD | LOAD Pin |
Specifications
The 2-digit seven segment display module typically comes with the following specifications:
- Input voltage: It operates at a typical input voltage of 5V, which is compatible with the Arduino Uno.
- Display type: It utilizes common cathode or common anode displays, which determine the electrical connections and control logic required.
- Display size: The module usually features two seven segment displays, each with a size of approximately 0.56 inches.
- Pin configuration: It consists of multiple pins for power supply, segment control, and decimal point control.
Features
- Compact and easy to use: The module’s compact design and straightforward pin configuration make it user-friendly and easy to integrate into projects.
- High visibility: The seven segment displays offer excellent visibility, even in varying lighting conditions, making it suitable for various applications.
- Multiplexing capability: By utilizing multiplexing techniques, the module can display different numbers on each digit alternately, allowing for dynamic displays.
- Decimal point control: The module includes an option to display decimal points, enabling the representation of fractional values.
- Low power consumption: It is designed to consume minimal power, making it suitable for battery-powered applications.
Circuit Diagram
The following circuit shows you the connection of the 2-Digit Seven Segment Display with arduino Please make the connection carefully

Circuit Connections
| Arduino | 2-Digit 7-Segment Display |
|---|---|
| +5V | VCC Pin |
| GND | GND Pin |
| SDI | Arduino Pin 2 |
| CLK | Arduino Pin 3 |
| LOAD | Arduino Pin 4 |
Installing Arduino IDE Software
First, you will require to Download the updated version of Arduino IDE Software and Install it on your PC or laptop. if you Learn How to install the Arduino step-by-step guide then click on how to install Arduino Button given Blow
Installing Libraries
Now when you are Ready to upload the code, to the Arduino Board you will need first to add the Following Libraries in Arduino, If you Learn How to add the library in the Arduino step-by-step guide click on how to install the library Button given Blow
Code
//For more Projects: www.arduinocircuit.com
/*
 *  2 Digitl 7 segment display PCB board with (2) 74HC595 shift register ICs
 *  Arduino Tutorial - www.Ardumotive.com
 *  Dev: Michalis Vasilakis // Date: 31/1/2018 // Ver:1.0
 */

#include <ShiftRegister74HC595.h>
// create shift register object (number of shift registers, data pin, clock pin, latch pin)
ShiftRegister74HC595 sr (2, 2, 3, 4);

int number=99; // <--- Change it from 0 to 99

int value,digit1,digit2,digit3,digit4;
uint8_t  numberB[] = {B11000000, //0
                      B11111001, //1
                      B10100100, //2
                      B10110000, //3
                      B10011001, //4
                      B10010010, //5
                      B10000011, //6
                      B11111000, //7
                      B10000000, //8
                      B10011000 //9
                     };

void setup() {
  //Count from 0 to 'number'
  countUp();
  //Count from 'number' to 0
  //countDown();  // <--- Comment countUp and uncomment countDown
  //Blink 4 times all on and all off.
  blink();
}

void loop() {

}
void countUp(){
  for (int i = 0; i<=number; i++){
    //Split number to digits:
    digit2=i % 10 ;
    digit1=(i / 10) % 10 ;
    //Send them to 7 segment displays
    uint8_t numberToPrint[]= {numberB[digit2],numberB[digit1]};
    sr.setAll(numberToPrint);
    //Reset them for next time
    digit1=0;
    digit2=0;
    delay(1000); // Repeat every 1 sec
  }
}

void countDown(){
  for (number; number>=0; number--){
    //Split number to digits:
    digit2=number % 10 ;
    digit1=(number / 10) % 10 ;
    //Send them to 7 segment displays
    uint8_t numberToPrint[]= {numberB[digit2],numberB[digit1]};
    sr.setAll(numberToPrint);
    //Reset them for next time
    digit1=0;
    digit2=0;
    delay(1000); // Repeat every 1 sec
  }
}

//Blink
void blink(){
  for(int i = 0; i<4; i++){
    sr.setAllLow(); // set all pins Low (off)
    delay(1000);
    sr.setAllHigh(); // set all pins High (on)
    delay(1000);
  }
}
Applications
- Digital clocks and timers: The module can be utilized to create digital clocks or timers that display time and countdowns.
- Measurement devices: It can be integrated into devices that require numeric data representation, such as temperature monitors or distance measuring tools.
- Counters and scoreboards: The module can be used to display counts or scores in games, sports events, or competitions.
- Industrial process displays: In industrial settings, the module can serve as a visual indicator for process parameters or machine status.
- Educational projects: It is an excellent tool for teaching electronics and programming concepts, allowing learners to build numeric displays for various purposes.
Conclusion
By following the steps outlined in this article and using the required components, you can easily interface a 2-digit 7-segment display module with an Arduino Uno. This opens up a world of possibilities for showcasing numerical data or creating visual indicators in your Arduino projects. So, get creative, explore the capabilities of the 2-digit 7-segment display module, and take your Arduino projects to the next level!


