Introduction
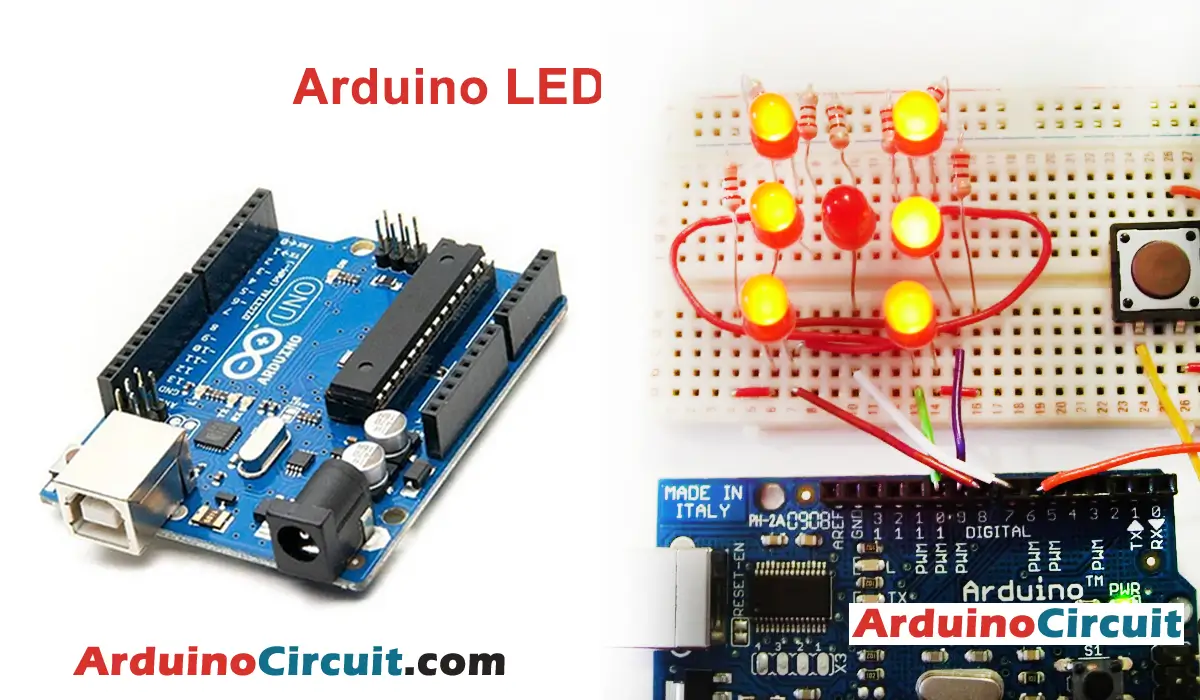
In this project, we are going to make Arduino LED Cube Game For Beginners. An Arduino play cube is a simple yet fun DIY project that can be built with just a few components. It consists of a cube-shaped device with LEDs that light up to display a random number when a button is pressed. This project is a great way to learn about basic electronics and programming using an Arduino microcontroller board.
Hardware Required
| Components | # | Buy From Amazon |
|---|---|---|
| Arduino UNO | 1 | Buy Now |
| LED 5mm | 7 | Buy Now |
| Resistor 220Ω | 7 | Buy Now |
| Resistor 1KΩ | 1 | Buy Now |
| Buttons | 1 | Buy Now |
| Jumper Wires | – | Buy Now |
| Breadboard | 2 | Buy Now |
Circuit Diagram

Instructions:
Here are the steps to follow to build your own Arduino Play cube:
- Connect the pushbutton to the breadboard. The button should be connected to the Arduino’s digital pin 5 and ground. Use a resistor between the digital pin and the button to prevent a short circuit.
- Connect the LEDs to the breadboard. Each LED should be connected to a digital pin on the Arduino (pins 6 to 12) through a 220-ohm resistor. The LEDs should be connected with their cathode (short leg) to the resistor and then to the ground.
- Upload the code to the Arduino board. The code will read the button state and display a random number on the LEDs when the button is pressed. Here is an example code you can use:
- Test the cube by pressing the button and checking if the LEDs display a random number when the button is pressed.
- That’s it! You have built your own Arduino play cube. Feel free to experiment with different codes or LED configurations to create your own unique design.
Installing Arduino IDE Software
First, you will require to Download the updated version of Arduino IDE Software and Install it on your PC or laptop. if you Learn How to install the Arduino step-by-step guide then click on how to install Arduino Button given Blow
Code
//For more Projects: www.arduinocircuit.com

int ergebniss = 0 ;

void setup()
{
Serial.begin(9600);
//Button pin
pinMode( 5 , INPUT);
//LEDs pins
pinMode( 6 , OUTPUT);
pinMode( 7 , OUTPUT);
pinMode( 8 , OUTPUT);
pinMode( 9 , OUTPUT);
pinMode( 10 , OUTPUT);
pinMode( 11 , OUTPUT);
pinMode( 12 , OUTPUT);
}

//Main code
void loop()
{
delay( 10 );

if (digitalRead(5))              //Button pressed
{
delay( 100 );
ergebniss = 0 ;
delay( 100 );
ergebniss = random( 6 ) + 1 ;    //Get random number between 1 and 6
Serial.print(ergebniss);
Serial.println();
//All LEDs LOW
digitalWrite( 6 , LOW );
digitalWrite( 7 , LOW );
digitalWrite( 8 , LOW );
digitalWrite( 9 , LOW );
digitalWrite( 10 , LOW );
digitalWrite( 11 , LOW );
digitalWrite( 12 , LOW );
delay( 200 );

///////////////////////////////

if (( ( ergebniss ) == ( 1 ) ))
{
digitalWrite( 6 , HIGH );
delay( 200 );
}
if (( ( ergebniss ) == ( 2 ) ))
{
digitalWrite( 9 , HIGH );
digitalWrite( 12 , HIGH );
delay( 200 );
}
if (( ( ergebniss ) == ( 3 ) ))
{
digitalWrite( 6 , HIGH );
digitalWrite( 9 , HIGH );
digitalWrite( 12 , HIGH );
delay( 200 );
}
if (( ( ergebniss ) == ( 4 ) ))
{
digitalWrite( 7 , HIGH );
digitalWrite( 9 , HIGH );
digitalWrite( 10 , HIGH );
digitalWrite( 12 , HIGH );
delay( 200 );
}
if (( ( ergebniss ) == ( 5 ) ))
{
digitalWrite( 6 , HIGH );
digitalWrite( 7 , HIGH );
digitalWrite( 9 , HIGH );
digitalWrite( 10 , HIGH );
digitalWrite( 12 , HIGH );
delay( 200 );
}
if (( ( ergebniss ) == ( 6 ) ))
{
digitalWrite( 7 , HIGH );
digitalWrite( 8 , HIGH );
digitalWrite( 9 , HIGH );
digitalWrite( 10 , HIGH );
digitalWrite( 11 , HIGH );
digitalWrite( 12 , HIGH );
delay( 200 );
}
}
}
Applications
- Educational tool: The Arduino play cube uses as a teaching aid in classrooms to introduce students to the basics of electronics and programming. It can help students learn about digital inputs and outputs, circuits, and programming concepts such as loops and conditional statements.
- Gaming: The play cube uses as a simple electronic game for children and adults alike. The player can roll the dice by pressing the button, and the LEDs will light up to display a random number, simulating a real dice. This can be a fun way to pass the time or to introduce kids to the concept of probability.
- Decorative item: The play cube uses as a decorative item for your desk or room. You can customize the cube’s design by using different colored LEDs or even adding graphics or designs on the sides of the cube. It can be a fun way to add some DIY flair to your living space.
- Therapy tool: The Arduino play cube uses as a sensory toy for people with a sensory processing disorder, ADHD, and autism. The visual and tactile stimulation provided by the LEDs can help individuals calm down, focus their attention, and improve their sensory integration.
Conclusion
Arduino LED Cube Game For Beginners Overall, the Arduino play cube is a versatile and fun project that uses for various purposes. It’s a great way to learn about electronics and programming while also creating something cool and useful.